
BitBook Create & Earn | A Complete Guide to Getting Started as a BitBook Creator
BitBook Create & Earn | A Complete Guide to Getting Started as a BitBook Creator
To begin creating content on the BitBook social media platform dedicated to travelers all you need to do is follow a few simple steps. Beginning with visiting the BitBook.net website to either login or sign up for a new account. Then you can begin to Create & Earn BBT tokens with your travel content contributions.

To create a new account on BitBook you can follow this 1-minute video tutorial.
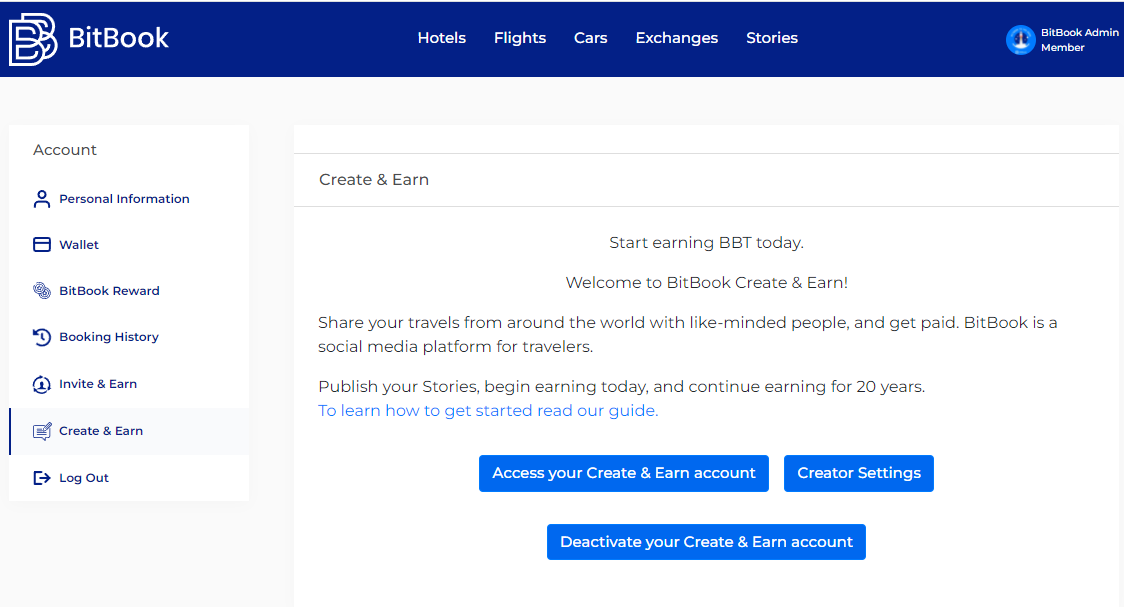
Now that you have your new account you will need to create your new blog. Find Create & Earn on the left-hand menu and select.

Now you are ready to brand your new page. First, you will want to name your blog and second, you create your blog_slug. The slug for search engine optimization (SEO). It is the part of the URL that explains the content of the page. The_slug_is_CASE_sensitive and all words need to be connected with an underscore. When you have your name and slug the third and final step to creating your new blog on BitBook is to click Activate Blog.

Your blog is now live, and it's time to personalize your space. Click on Access Your Create & Earn Account or to view how it looks now visit the Creator Settings.
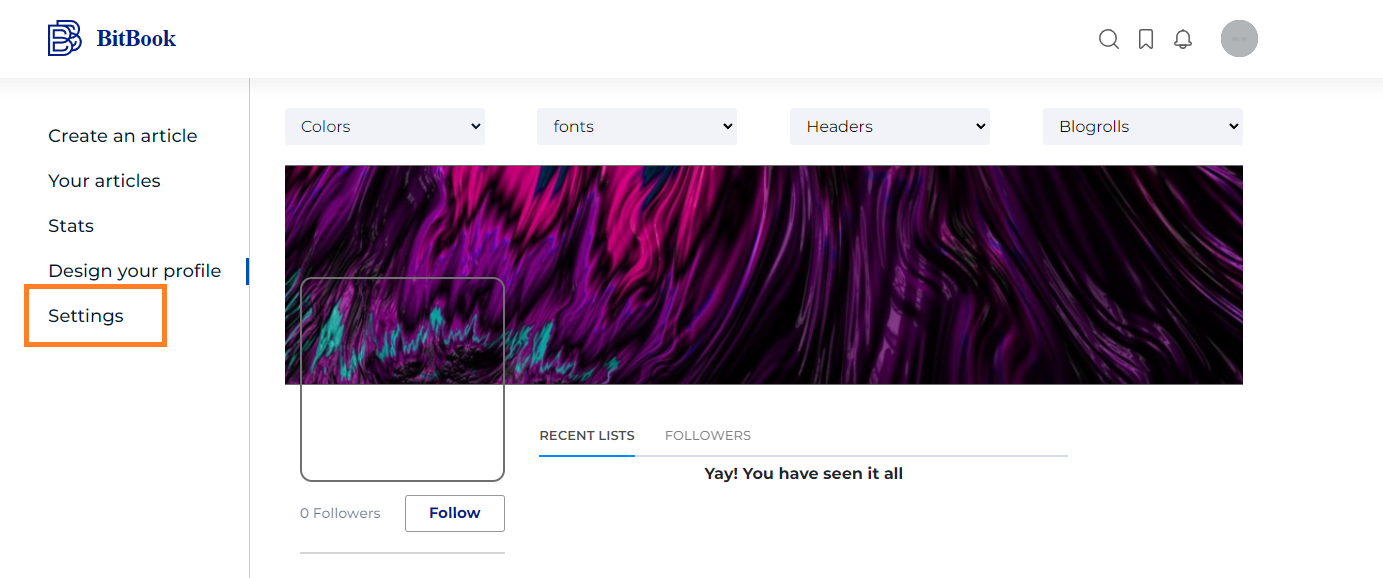
To begin customizing your new travel blog click on the profile icon in the top right corner and select Design your profile from the dropdown menu.

You will be redirected to the BitBook design studio where you can customize the look and feel of your BitBook web page.
Creators on BitBook can choose various color schemes, fonts, and headers, and even customized the way their blog roll appears to suit your target audience. Travelers are global, and we want you to have a personalized space where you can express your travel personality.
Click the Settings tab to get started.
BitBook creator basics are first and foremost with Name, Bio, and Photo. This is your first impression, make it count!
Name: This is how your name will appear on your page.
Bio: This is a byline you can add to your Name with a maximum of 150 characters.
Photo: Your profile photo will show on your main page, and anywhere you leave comments on the BitBook platform.

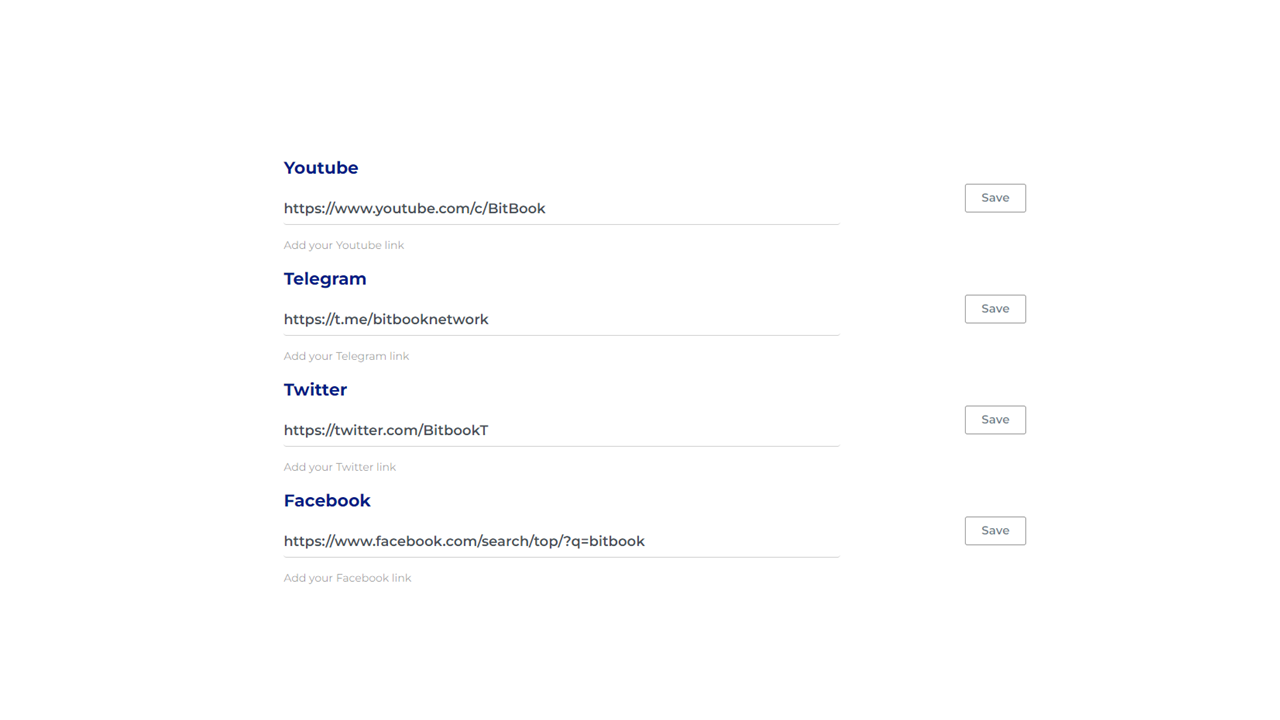
BitBook Creator Socials
BitBooks SocialFi platform will connect directly to your existing social media profiles giving you another touch point to reach other travelers. Whether you are an active YouTube vlogger, host a Telegram group, or utilize Twitter, Facebook, and Instagram your BitBook creators page can display them all.
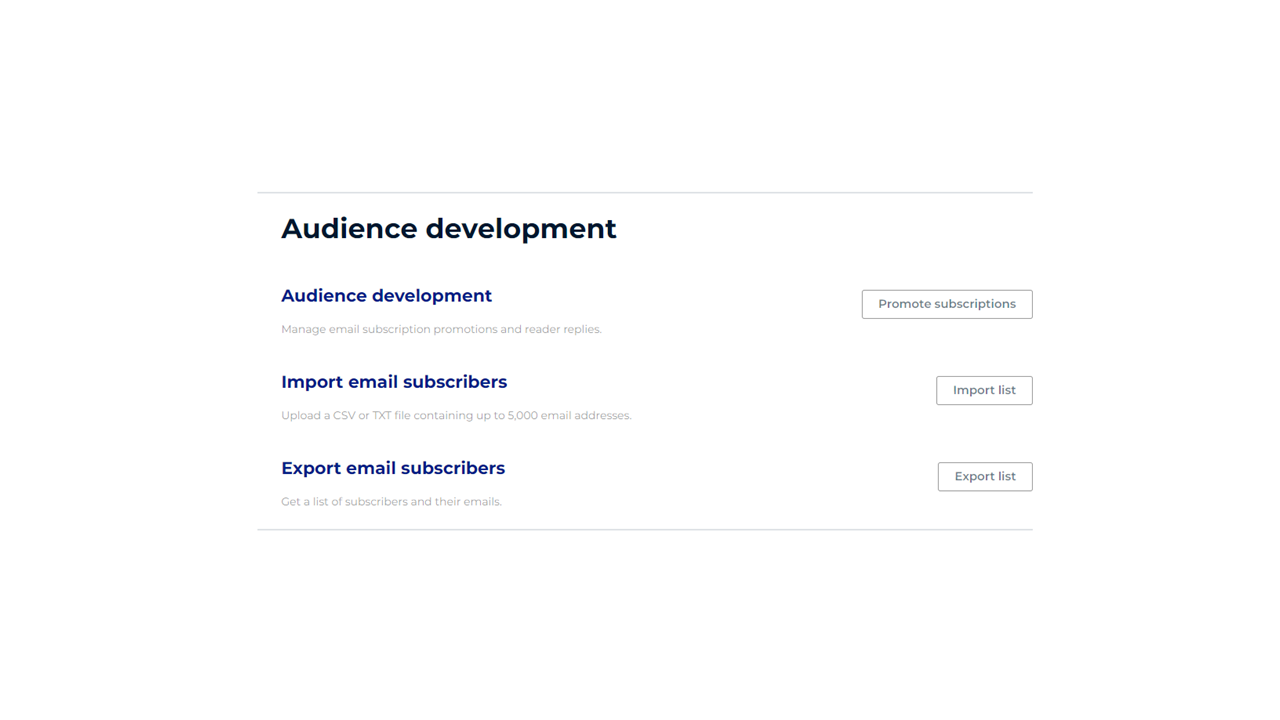
Audience Development
Create & Earn more with your marketing toolkit. Develop your audience by growing your email subscribers, and running promotions. Import existing email subscribers to your BitBook account up to 5000 addresses can be uploaded at once with a TXT or CSV file. Your page, your data, export your email subscribers and use your own mail client for more options.
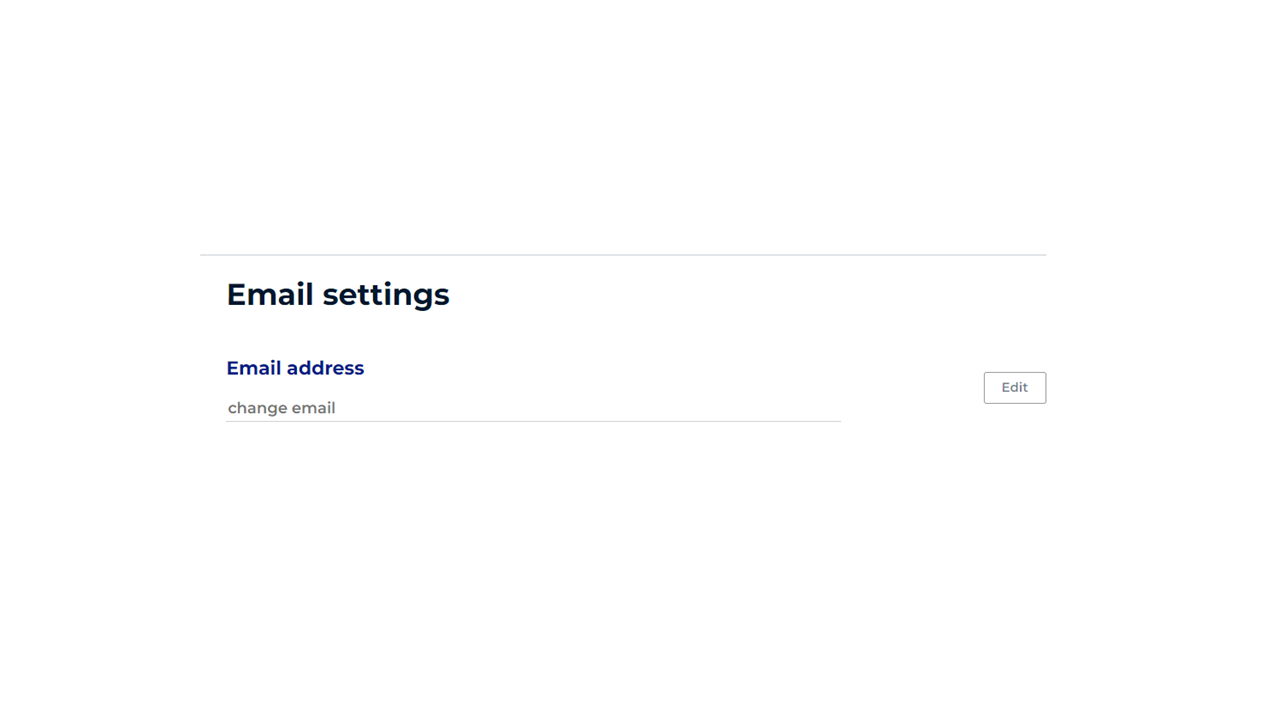
Email Settings
BitBook creators can update their email addresses on file at any time. So, when you grow so big you have your own domain email, you can update it anytime.
Now that your profile is set, you are ready to start creating and earning.
Account Paused
If you would like to deactivate your account you can do so at any time from this control panel.